It’s almost spring, kind of a pre-spring really. I say this because Sprouts had quarts of strawbabies for 97 cents, and I was all over that. But…..although they were red, they were not really flavorful or sweet. So, what to do with a ton of non-optimal berries?
Then I remembered this awesome book I checked out from the library about small-batch canning, Food in Jars. I’d checked it out to read while planning a fig-onion-jam-making party, only it’s winter and the onions are all shite and not yet worthy of jam making. That mother is still totally happening, but once the onions are fat and sweet and not stringy and hot. But I digress. So, strawberry jam was now on the agenda. Last time I made it, I added some vanilla and it was awesome. So, there we go – I now had a plan.
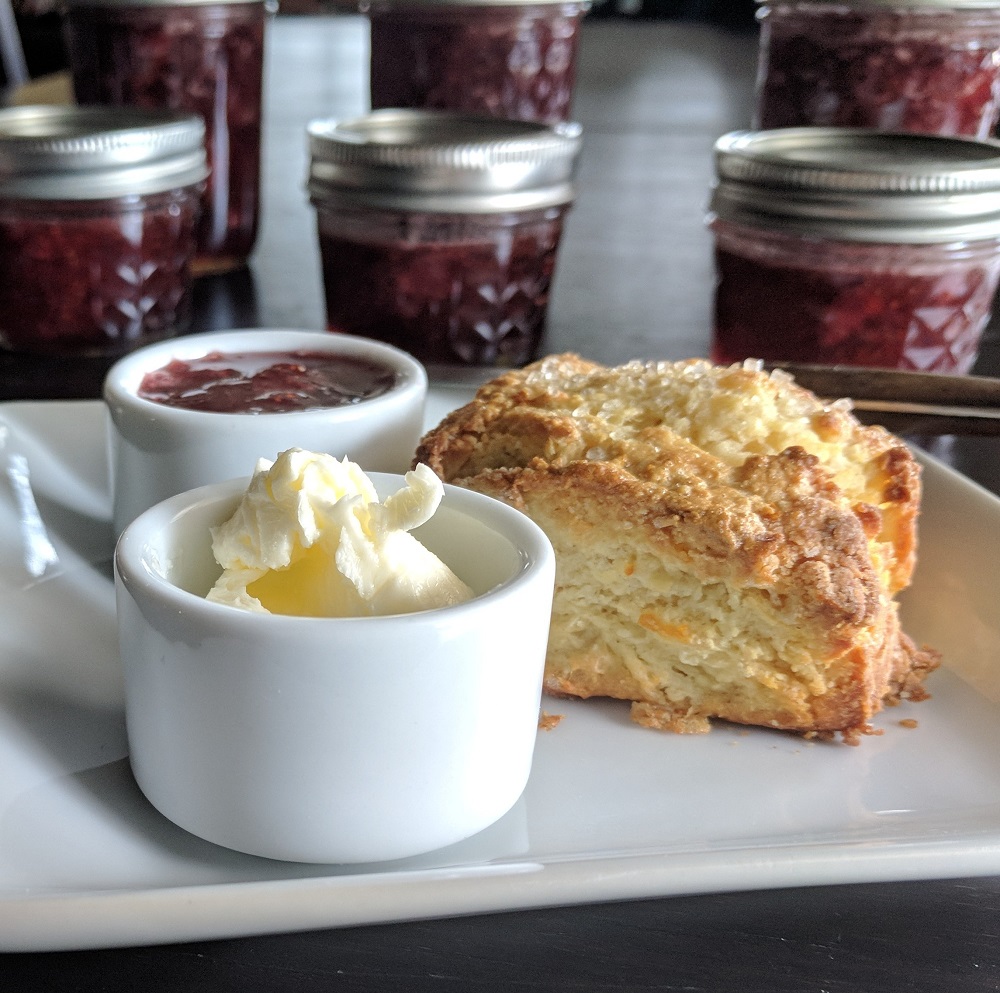
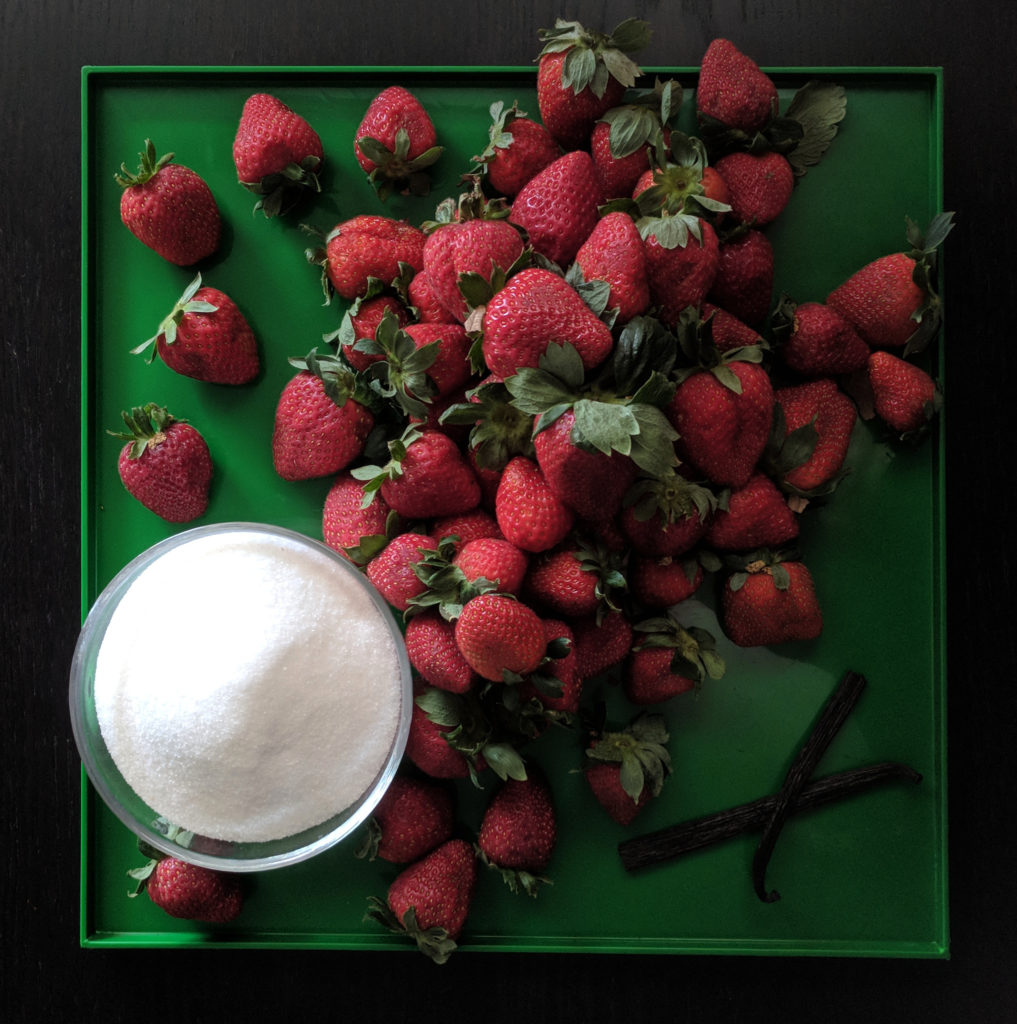
I did this granny-style, 1:1 by weight fruit to sugar. Plus a 3″ piece of already scraped vanilla pod.

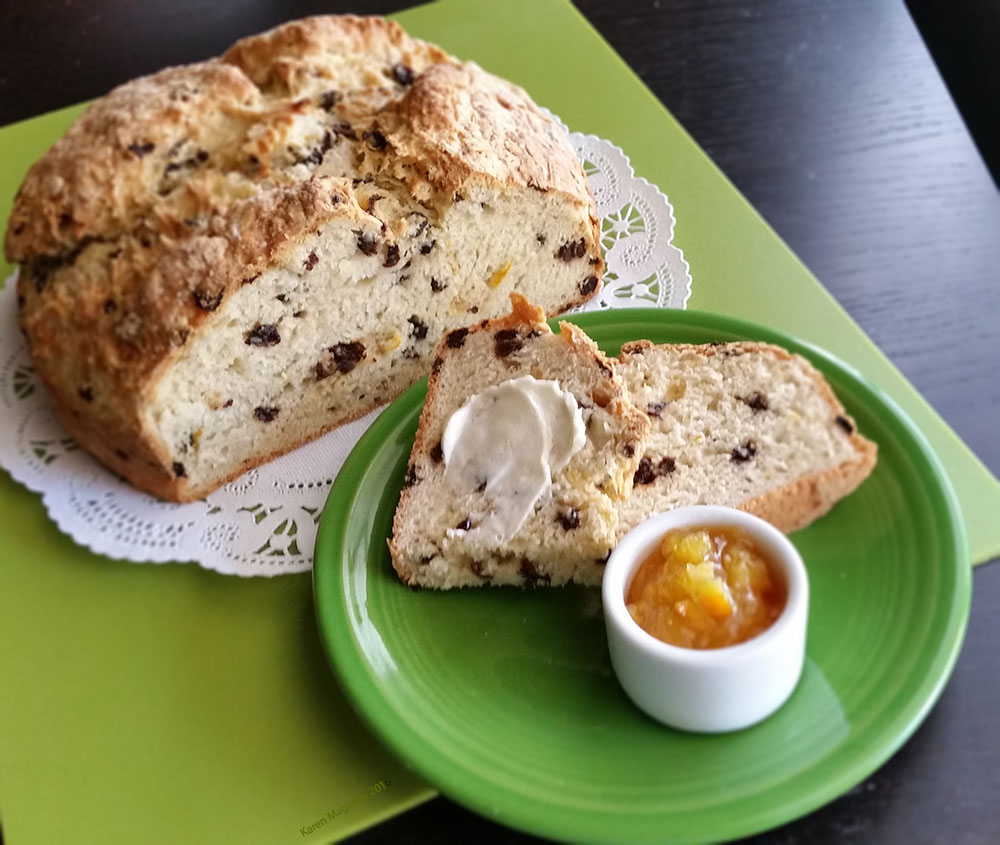
It is really yummy, but quite sweet. And a little heavy on the vanilla (I guess I was expecting a miracle and the cooking to make the berries have more berry-ness?). This is the kind of jam for crostatas, or afternoon tea, or sandwiched in a white layer cake. We had it with some orange scones (the usual recipe, with the zest of half an orange added, and just a little egg wash and sparkle sugar on top.)
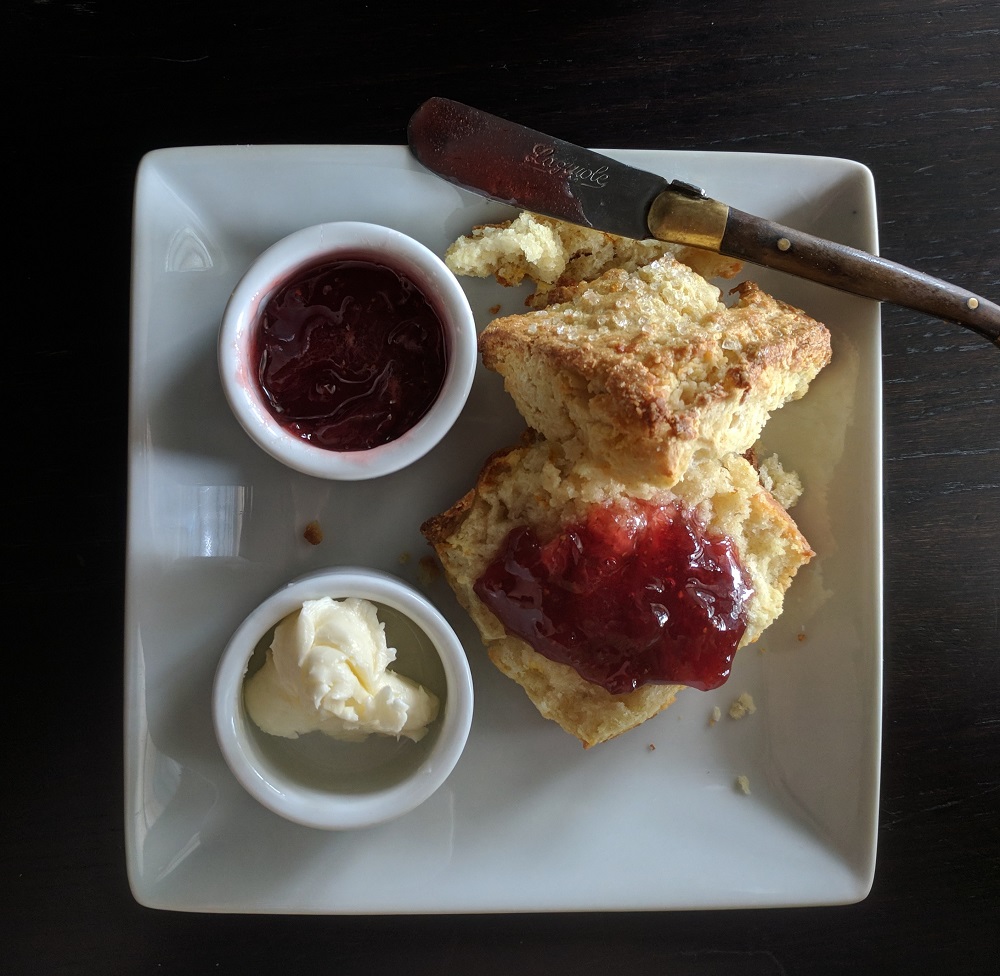
This was a fun Friday morning off project, only took a couple of hours. If you’ve never canned before, I can highly recommend Marisa McClellan’s book, or The Spruce has a great visual beginner’s guide. It’s not hard, but there are some safety bits that are essential.
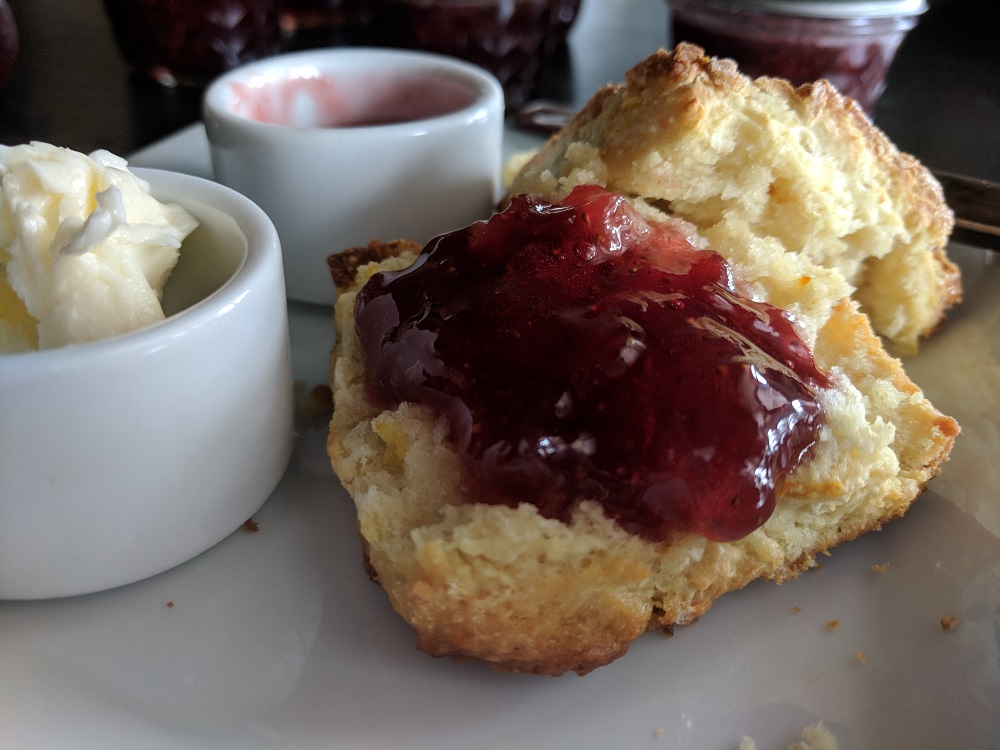
Ok – Here’s the recipe for Vanilla Strawberry Jammy Jams
Ingredients:
2 pounds fresh strawberries; washed, stemmed, cut in half
2 pounds sugar
3″ piece of vanilla bean pod that’s already had its seeds scraped out. (or a one-inch piece of whole pod)
In a big stock pot on a very low flame, mix the berries and sugar. Use a potato masher to smoosh it up. Toss in the vanilla bean pod. Check on it and stir it every ten minutes or so at the beginning to make sure the sugar isn’t burning. Once it’s liquidy, let it barely bubble away for about two hours, then start to stir it every 15 minutes or so, again to make sure the bottom doesn’t scorch. When it sheets on a spoon, it’s ready (What the hell does that mean? Read on, baby!) At that point you can can it in a water bath, or put it in to freezer jam jars. Or just refrigerator jars. With all that sugar, it’ll stay good for quite a long while. Take some to the neighbors – mine loved it!
I’ll post about those scones later; I tried a Nigella trick and tossed the dough in the freezer for 20 minutes before cutting the dough. THAT was amazeballs and I am definitely doing THAT again.

